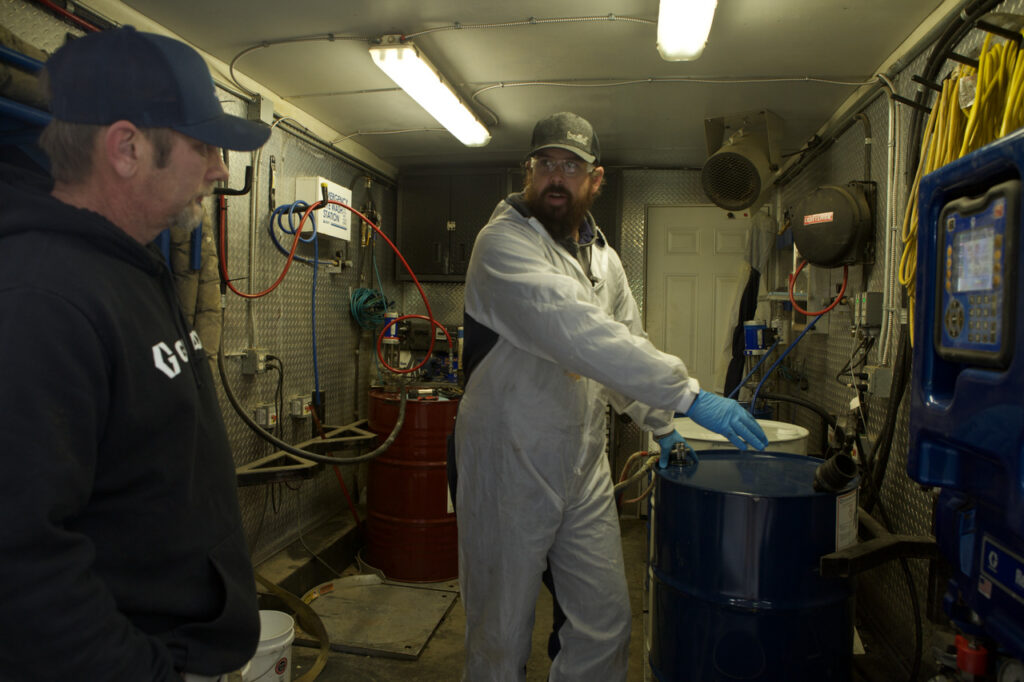
As the Spray Foam Industry’s Most Innovative, Accurate, and Dependable Manufacturer, we know how crucial it is to ensure a changeover procedure is carried out smoothly and efficiently to minimize downtime and maximize productivity. And, as a contractor spraying Accufoam®, you know the critical importance of getting a changeover right.
A changeover procedure involves switching from one type of material to another or from one color to another.
Our very own Cole Fletcher took a few moments on-site in rural Pennsylvania recently to walk us through his preferred method for a changeover procedure. Cole shared this process on video for the Spray Polyurethane Foam Alliance — the industry’s sole trade representation group and provider of the only professional certification program in the industry. You can learn more about the Professional Certification Program—and the SPFA—here.
In this article, we will discuss the steps involved in performing a changeover procedure for SPF insulation:
Step 1: Plan Ahead
The first step in performing a changeover procedure is to plan ahead. This involves identifying the material or color to be changed and scheduling the changeover at a time when production is at its lowest point to minimize disruption. It is also important to ensure that all the necessary materials and equipment are available and ready for use.
Step 2: Flush the System
The next step is to flush the system. This involves removing any remaining material from the spray gun, hoses, and pumps. The system should be flushed with a solvent that is compatible with the new material to prevent contamination. Flushing the system is important because it ensures that the new material will not be mixed with the old material, which could affect the quality of the final product.
Step 3: Clean the Equipment
After flushing the system, it is important to clean the equipment thoroughly. This involves disassembling the spray gun and cleaning all the parts with a solvent to remove any residue. The hoses and pumps should also be cleaned to ensure that there is no contamination.
Step 4: Change the Filters
The next step is to change the filters. The filters should be changed to ensure that there is no contamination in the system. The type of filter used should be compatible with the new material to prevent any issues during production.
Step 5: Perform Test Sprays
Once the system has been flushed and cleaned and the filters have been changed, it is important to perform test sprays. This involves spraying a small amount of the new material onto a test surface to ensure that the equipment is working properly and that the material is being applied correctly.
Step 6: Adjust the Equipment
After performing test sprays, the equipment may need to be adjusted. This involves adjusting the pressure and flow rates to ensure that the new material is being applied correctly. The spray pattern may also need to be adjusted to ensure consistent coverage.
Step 7: Resume Production
Once the equipment has been adjusted and the test sprays have been successful, production can resume. It is important to monitor the production process closely to ensure that the new material is being applied correctly and that there are no issues.
In conclusion, performing a changeover procedure for an SPF insulation system involves careful planning, flushing the system, cleaning the equipment, changing the filters, performing test sprays, adjusting the equipment, and resuming production. By following these steps, manufacturers can ensure that the changeover procedure is carried out smoothly and efficiently, minimizing downtime and maximizing productivity. If you need help, our team (including Cole Fletcher!) are here to help; reach out anytime!


